Arduino IDE結構使いにくいなーと思ってました.そこで調べてみると,Arduinoの開発もVSCodeでできそうということがわかり,使ってみようと思いました.
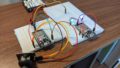
前回の記事から,Arduino nanoを卒業してesp32を使うことにしたので,esp32用の開発環境を整えてみます.調べてみると,なかなかVScode + Arduino IDE + esp32 + ubuntu 18.04の組み合わせで開発環境構築しているサイトはヒットしなかったのでこの記事にまとめてみます.
以下のサイトが非常に参考になります.
環境
- ubuntu 18.04
- VSCode + Arduino IDEプラグイン
- esp32 (ESP32 Dev Module)
セットアップ・使用方法
大まかな流れは以下です.
- プラグインのインストール
- Pathの設定
- ボードの選択
- シリアルポートの選択
- ボードに書き込む
- シリアル通信
詳しい手順を以下で示します.
プラグインのインストール
「Ctrl + Shift + X」で拡張機能を開き,Visual Studio Code extension for Arduinoというプラグインをインストールします.
※ 2025.2.6 追記: 別環境で再 setup をしていましたが、上記を実行した上で「Ctrl + Shift + P」で vscode-arduino-community というものをインストールする必要がありました。これをインストールしないと、Arduino Library Manager 等の機能が使えませんでした。
Pathの設定
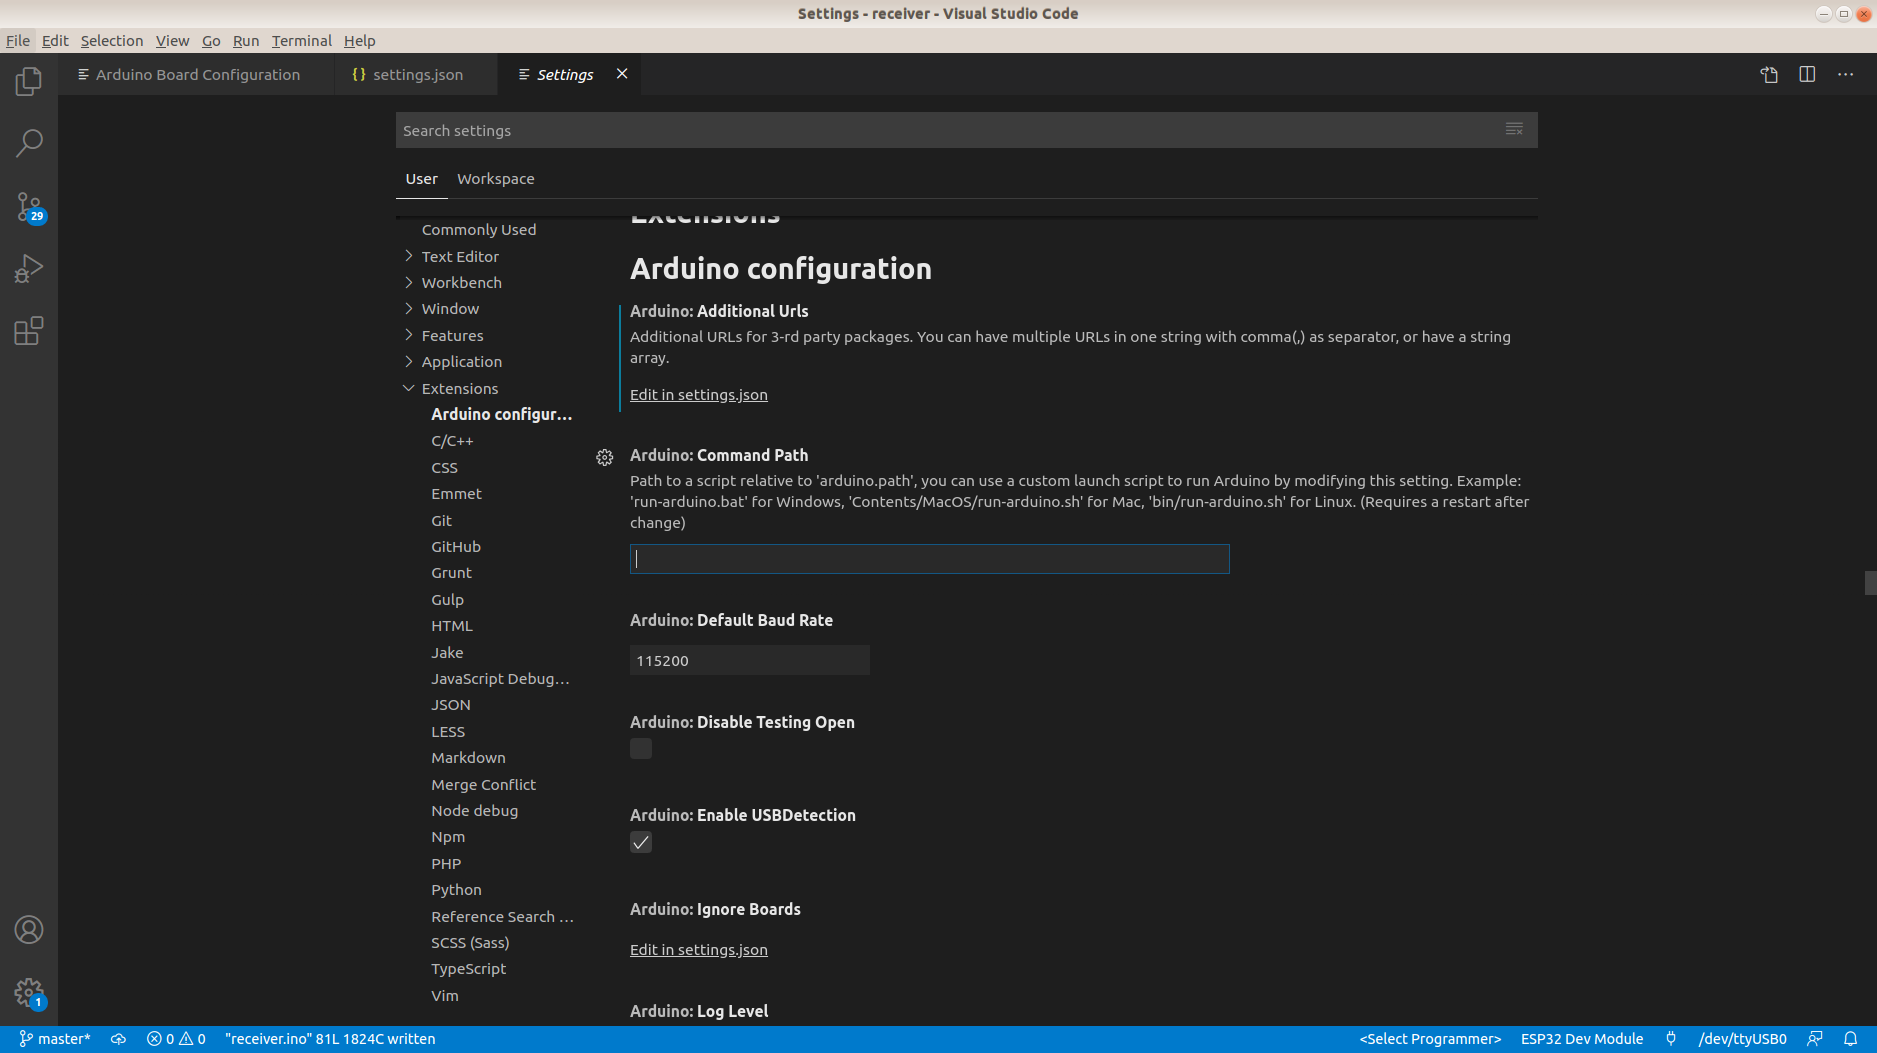
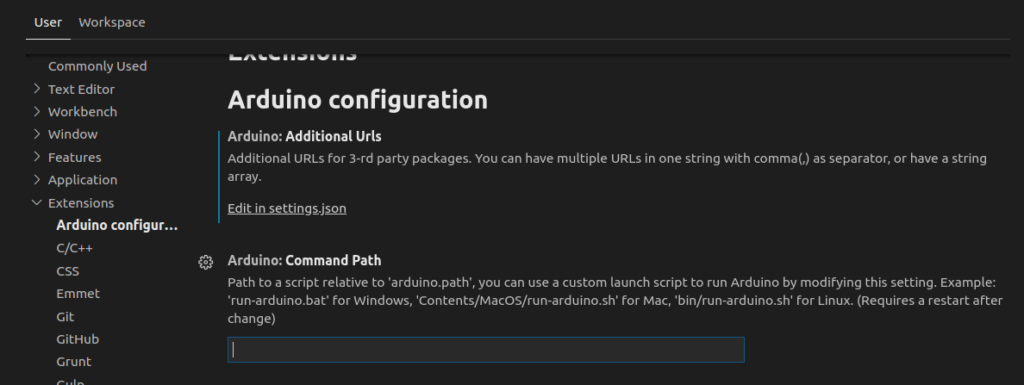
「Ctrl + ,」によりVSCodeの設定画面を開き,Arduino: Command PathにArduinoがインストールされているディレクトリを入力します.私の場合は予め設定されていて,空欄のままで環境構築できました.
ボードの選択
ボード選択にてつまづきました.コマンドパレットでArduino: Board Configを探してもESP32 Dev Moduleが見つかりませんでした.
あれ?「Arduinoをインストールしたディレクトリにesp32関連のファイルは入れたのにな.」と思って調べてみると,setting.jsonファイルの編集をしてBoard Managerでesp32用のパッケージをインストールする必要がありそうです.
以下の手順に沿って,セットアップしてからボードを選択しましょう.
1.. setting.jsonに以下の青色の行を追加する.
{
"window.zoomLevel": 1,
"editor.minimap.enabled": false,
"C_Cpp.clang_format_style": "{BasedOnStyle: Google, IndentWidth: 4}",
"editor.tabSize": 4,
"arduino.additionalUrls": ["",
"https://dl.espressif.com/dl/package_esp32_index.json",
"http://arduino.esp8266.com/stable/package_esp8266com_index.json"
],
}
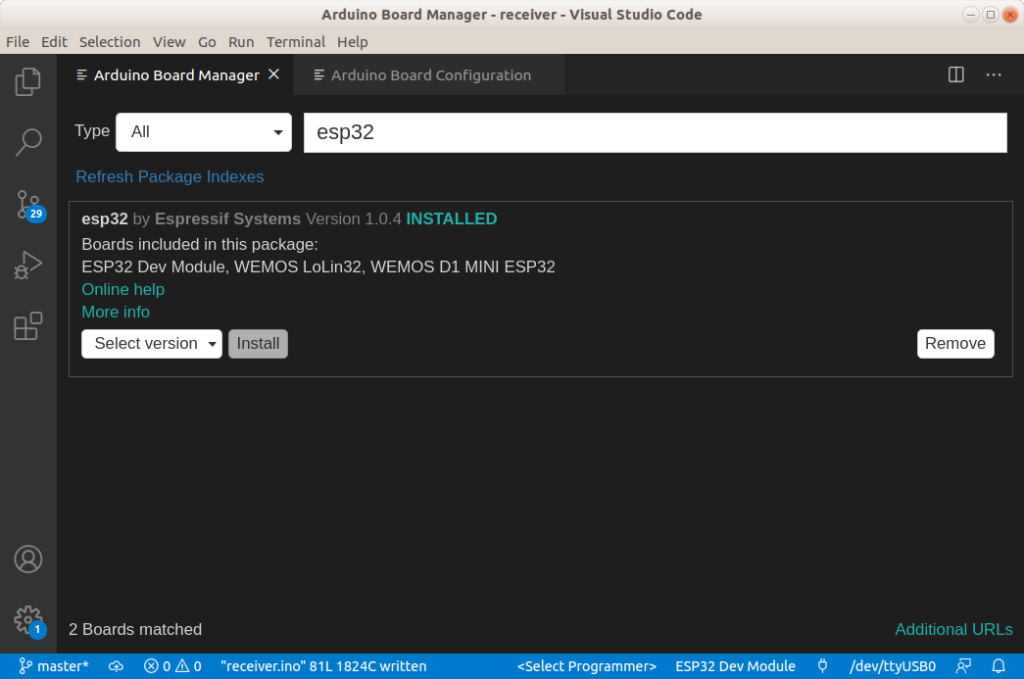
2.. コマンドパレットでArduino: Board Managerを開き,esp32のパッケージをインストールする.
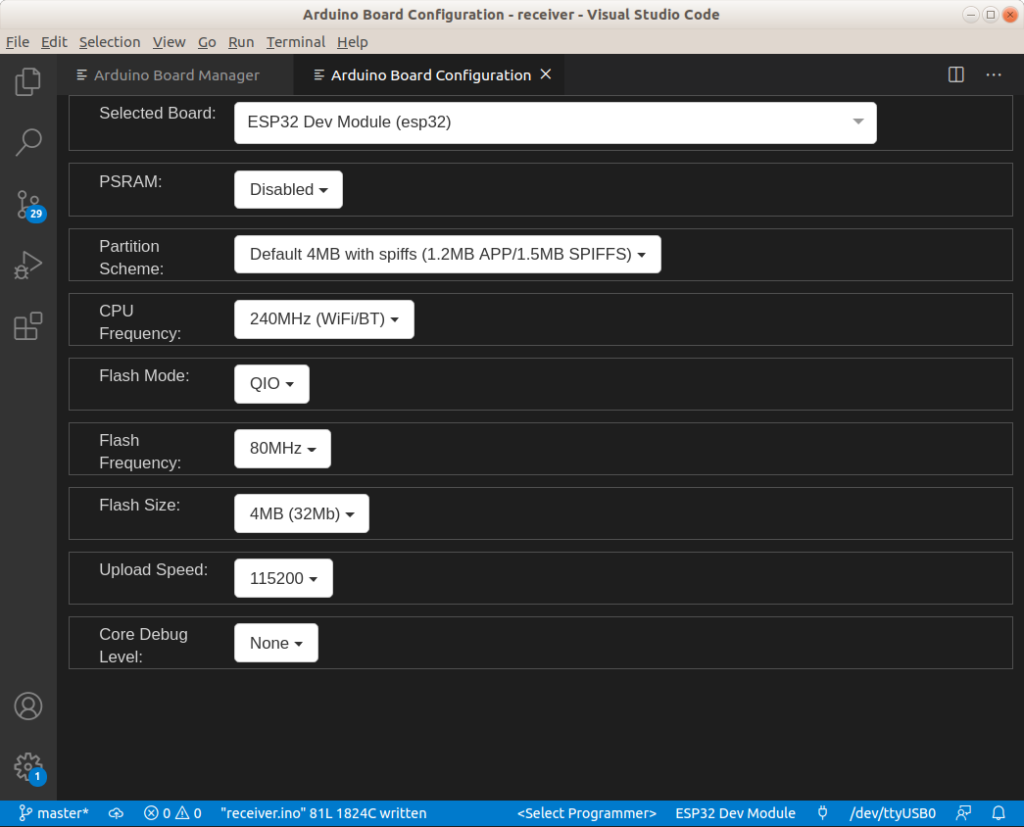
3.. コマンドパレットでArduino: Board Configを開き,書き込みの設定をする.
シリアルポートの選択
「Ctrl + Shift + P」でコマンドパレットを開き,Arduino: Select a serial portと入力し,ボードが接続されているシリアルポートを選択します.私の場合は/dev/ttyUSB0でした.
ボードに書き込む
「Ctrl + Shift + P」でコマンドパレットを開き、Arduino: Uploadと入力します.スケッチが書き込まれます.Arduino IDEでesp32に書き込んだときと同じようなメッセージが表示され,無事書き込みが終了しました.
[Starting] Upload sketch - receiver.ino
[Warning] Output path is not specified. Unable to reuse previously compiled files. Upload could be slow. See README.
Picked up JAVA_TOOL_OPTIONS:
Loading configuration…
Initializing packages…
Preparing boards…
Verifying…
2020-06-21T13:44:31.261Z INFO c.a.u.n.HttpConnectionManager:148 [cc.arduino.packages.discoverers.serial.SerialDiscovery] Connect to https://builder.arduino.cc/builder/v1/boards/0x10C4/0xEA60, method=GET, request id=B1E9B5559D5C4FDE
2020-06-21T13:44:32.837Z INFO c.a.u.n.HttpConnectionManager:152 [cc.arduino.packages.discoverers.serial.SerialDiscovery] Request complete URL="https://builder.arduino.cc/builder/v1/boards/0x10C4/0xEA60", method=GET, response code=404, request id=B1E9B5559D5C4FDE, headers={null=[HTTP/1.1 404 Not Found], Cache-Control=[no-cache, no-store, must-revalidate], Server=[nginx], Connection=[keep-alive], Vary=[Origin], Pragma=[no-cache], Expires=[0], Content-Length=[0], Date=[Sun, 21 Jun 2020 13:44:32 GMT]}
2020-06-21T13:44:32.837Z WARN p.a.h.BoardCloudResolver:64 [cc.arduino.packages.discoverers.serial.SerialDiscovery] Fail to get the Vid Pid information from the builder response code=404
Sketch uses 865847 bytes (66%) of program storage space. Maximum is 1310720 bytes.
Global variables use 36120 bytes (11%) of dynamic memory, leaving 291560 bytes for local variables. Maximum is 327680 bytes.
Uploading…
esptool.py v2.6
Serial port /dev/ttyUSB0
Connecting….
Chip is ESP32D0WDQ6 (revision 1)
Features: WiFi, BT, Dual Core, 240MHz, VRef calibration in efuse, Coding Scheme None
MAC: 24:62:ab:dc:30:5c
Uploading stub…
Running stub…
Stub running…
Configuring flash size…
Auto-detected Flash size: 4MB
Compressed 8192 bytes to 47…
Writing at 0x0000e000… (100 %)
Wrote 8192 bytes (47 compressed) at 0x0000e000 in 0.0 seconds (effective 7391.8 kbit/s)…
Hash of data verified.
Compressed 17392 bytes to 11186…
Writing at 0x00001000… (100 %)
Wrote 17392 bytes (11186 compressed) at 0x00001000 in 1.0 seconds (effective 140.0 kbit/s)…
Hash of data verified.
Compressed 865968 bytes to 516748…
Writing at 0x00010000… (3 %)
Writing at 0x00014000… (6 %)
〜中略〜
Writing at 0x00088000… (96 %)
Writing at 0x0008c000… (100 %)
Wrote 865968 bytes (516748 compressed) at 0x00010000 in 46.1 seconds (effective 150.2 kbit/s)…
Hash of data verified.
Compressed 3072 bytes to 128…
Writing at 0x00008000… (100 %)
Wrote 3072 bytes (128 compressed) at 0x00008000 in 0.0 seconds (effective 1473.7 kbit/s)…
Hash of data verified.
Leaving…
Hard resetting via RTS pin…
[Done] Uploaded the sketch: receiver.ino
Uploadは「Ctrl + Alt + U」でも実行できます.
シリアル通信
- コマンドパレットを開いてArduino: Change Baud Rateと入力し,適切なbaud rateを設定します。
- コマンドパレットを開いてArduino: Open Serial Monitorと入力するとシリアルモニタが開きます.出力データはOUTPUTタブで確認できます.
コメント